
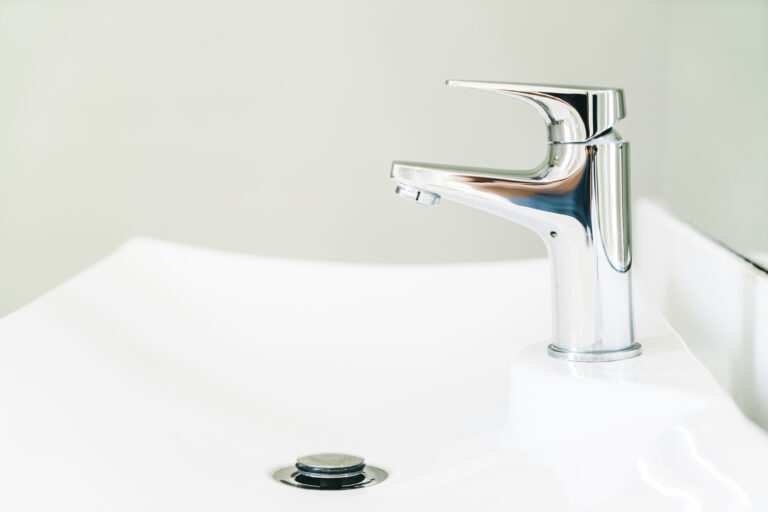
Learn how to fix dripping faucet like a pro in just 5 supercharged steps. This comprehensive guide provides easy-to-follow instructions and expert tips to help you tackle that annoying drip.
Table of Contents
ToggleIntroduction
Dealing with a dripping faucet can be a frustrating experience. The constant sound of water droplets hitting the sink can drive anyone crazy, not to mention the wasted water and increased water bills. But fear not! In this guide, we’ll walk you through the process of how to fix dripping faucet like a pro in just five simple yet supercharged steps. You don’t need to be a plumbing expert to tackle this common household issue. Let’s dive in to check Step-by-Step Guide on How to Fix Dripping Faucet
Step-by-Step Guide: How to Fix Dripping Faucet
Step 1: Gather Your Tools
If you want to know how to fix dripping faucet make sure you have all the necessary tools on hand before you start. You’ll need an adjustable wrench, screwdrivers (both flathead and Phillips), replacement washers, pliers, and a cloth. Having everything ready will save you time and make the process smoother.
Step 2: Turn Off the Water Supply
Safety first! Locate the water shut-off valves under the sink. Turn off the faucet’s hot and cold water supplies. This prevents water from flowing while you work, reducing the mess and making repairs safer.
Step 3: Disassemble the Faucet
Use the appropriate screwdrivers to remove the handle of the dripping faucet. To get to the screw, you might need to pry off a decorative cap. Once the handle is off, use pliers to remove the retaining nut and expose the cartridge or valve stem.

Step 4: Replace the Washer or Cartridge
Dripping faucets are often caused by worn-out washers or damaged cartridges. Remove the old washer or cartridge and replace it with a new one. Your replacement components will be useful in this situation. Make sure to choose the correct size and type to ensure a proper fit.
Step 5: Reassemble and Test
Carefully put everything back together in reverse order. Reattach the handle, tighten the retaining nut, and fasten it with the screw. Once everything is in place, turn the water supply back on and test the faucet. If the dripping has stopped, congratulations – you’ve fixed the issue of how to fix dripping faucet.
Expert Tips and Tricks
Prevent Over-Tightening: When reassembling the faucet, be cautious not to over-tighten the components. This can lead to leaks or damage.
Inspect Regularly: Make it a habit to inspect your faucets for drips or leaks. Catching and fixing issues early can save you from larger problems down the road.
Use Lubrication: Apply a small amount of plumber’s grease to moving parts before reassembly. This reduces friction and extends the life of your faucet.

Conclusion
Don’t let a dripping faucet drive you crazy or waste precious water. By following these five supercharged steps on how to fix dripping faucet, you can fix that annoying drip like a pro. Remember, a little maintenance goes a long way in keeping your plumbing in top shape. So grab your tools, get ready to tackle the drip, and enjoy the satisfaction of a job well done!
FAQs
Q: Why is my faucet dripping?
A: Faucets can drip due to worn-out washers, damaged cartridges, or loose components. Fixing these issues will usually stop the drip.
Q: How to fix dripping faucet on my own?
A: Absolutely! With the right tools and a little guidance, fixing a dripping faucet is a DIY task that doesn’t require advanced plumbing skills.
Q: How much water does a dripping faucet waste?
A: A dripping faucet can waste hundreds of gallons of water per year, contributing to higher water bills and unnecessary water consumption.
Q: What if the dripping persists after replacing the washer?
A: If the drip continues, the cartridge or valve stem may be the culprit. These parts should be changed to resolve the problem.
Q: Are there eco-friendly options for fixing a dripping faucet?
A: Yes, consider using water-saving replacement parts, such as low-flow cartridges, to reduce water wastage.
Q: When should I call a professional plumber?
A: If you’ve followed the steps and the dripping persists, or if you’re uncomfortable with DIY repairs, it’s a good idea to consult a professional plumber.